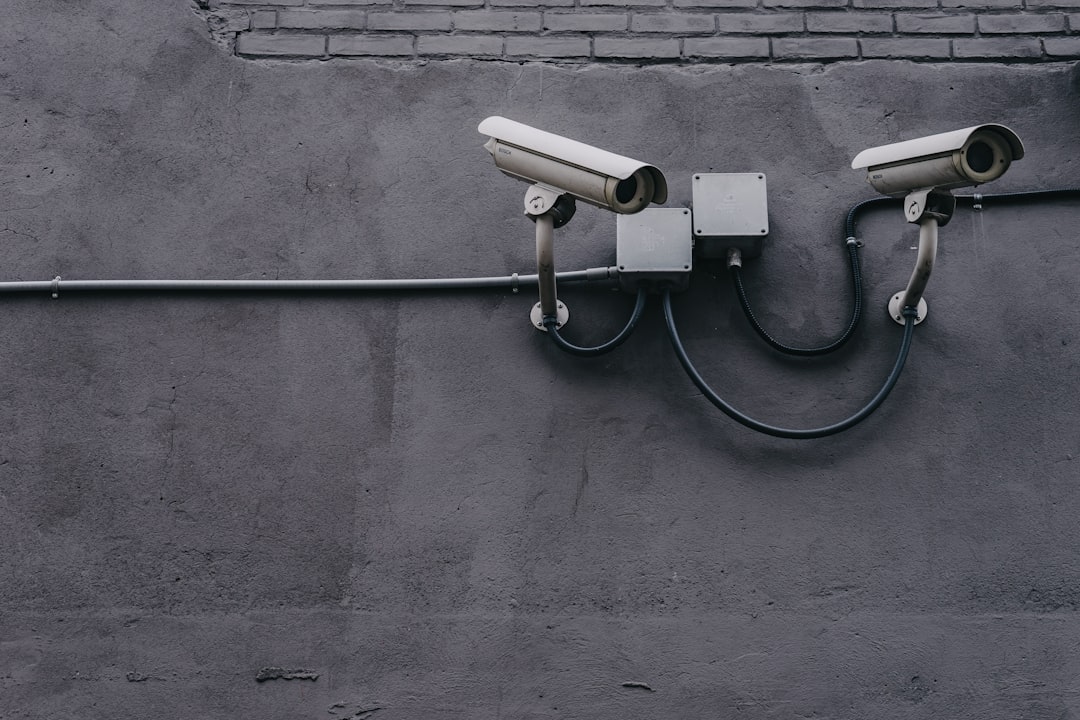
Good camera placement is less about installing the largest number of devices and more about covering useful approach paths without recording places that should remain private. This room-by-room guide gives you a reusable security camera coverage checklist, mounting guidance, field-of-view planning methods, and a comparison of indoor, outdoor, fixed, pan/tilt, wired, and battery-powered cameras.
Overview
Before buying or mounting a camera, draw a simple floor plan of your home. Mark doors, windows, gates, driveways, stairs, hallways, detached buildings, and any area where a person could approach unseen. Then decide what each camera needs to show: a face at an entry, activity in a driveway, a package drop zone, or movement between rooms.
A camera cannot eliminate every blind spot. The practical goal is layered coverage: one camera should observe an approach or entry, while another can cover the area beyond it. Avoid aiming cameras directly at bright windows, reflective surfaces, neighboring properties, or areas where household members reasonably expect privacy.
Simple coverage-map method
- Draw the exterior walls and main interior rooms, not every piece of furniture.
- Mark the camera with a small triangle showing the direction it faces.
- Sketch the camera's field of view as a cone. A wider cone covers more area but may show less detail at a distance.
- Mark the useful identification zone, such as the space immediately outside a door or the portion of a driveway where a person would walk.
- Shade obstacles and blind spots caused by walls, roof overhangs, posts, plants, parked vehicles, or seasonal decorations.
- Walk through the property in daylight and after dark, viewing the live feed from each planned location before drilling.
Use the camera manufacturer's stated field of view as a planning input, not a guarantee. Lens angle, image cropping, mounting position, and lighting all affect the result. A camera with a very wide view may show an entire porch but make a visitor's face appear small. A narrower view can provide more useful detail at a doorway.
Camera type comparison
| Camera type | Useful for | Placement considerations | Trade-offs to check |
|---|---|---|---|
| Indoor camera | Entry hallways, living areas, nurseries, and interior paths | Place it where it sees an approach without pointing into bedrooms or bathrooms | Privacy, audio capture, power cable visibility, and glare from windows |
| Outdoor camera | Doors, driveways, yards, side paths, and gates | Use a sheltered position when possible and keep the lens clear of roof edges and direct light | Weather exposure, night lighting, Wi-Fi range, and cable routing |
| Fixed camera | Known, important views such as a front door or gate | Spend time setting the angle before tightening the mount | It cannot follow movement; a poorly aimed unit leaves a permanent blind spot |
| Pan/tilt camera | Large rooms or areas where one view cannot cover the whole space | Check its default position, movement limits, and whether privacy zones remain effective as it moves | A moving view may miss an event elsewhere; mechanical movement can add setup and maintenance needs |
| Wired camera | Permanent installations and locations with reliable cable routes | Plan power, network, conduit, and weather sealing before installation | More installation work, but no routine battery charging at the camera |
| Battery camera | Rentals, temporary coverage, or locations without convenient power | Mount where the unit can be removed safely and where activity is likely to trigger useful recording | Battery life varies with activity, temperature, signal, settings, and recording behavior |
Checklist by scenario
Front door and porch
- □ Frame the visitor's approach, not only the door panel.
- □ Leave enough space to see a person's face when they stand at the door.
- □ Check that a porch roof, wall, door frame, or package does not block the lower part of the view.
- □ Test daytime backlighting and nighttime illumination separately.
- □ If using a video doorbell, confirm that the camera's vertical view includes the expected package drop area.
- □ Set a privacy mask or adjust the angle if the view includes a neighboring entrance or private window.
Driveway, garage, and vehicle approach
- □ Aim along the path vehicles and people actually use instead of straight into headlights.
- □ Check whether parked cars, bins, shrubs, or seasonal items create a new obstruction.
- □ Use a second angle if the garage door or a tall vehicle blocks the approach.
- □ Avoid relying on digital zoom to replace a properly positioned camera.
- □ Confirm that night mode does not reflect from a nearby wall, garage door, or light-colored surface.
Side gate, rear door, and yard
- □ Cover the gate or narrow access path before covering the entire yard.
- □ Mount high enough to discourage casual tampering, but not so high that faces become difficult to identify.
- □ Check both directions of travel along a side path.
- □ Trim or reposition plants that may grow into the frame or trigger motion alerts.
- □ Keep neighboring yards and windows outside the frame where practical.
Hallways, stairs, and interior entries
- □ Place an indoor camera where it observes movement between rooms rather than private activities.
- □ Avoid aiming through a glass door or window unless the device is designed for that use; reflections can reduce image quality.
- □ Check that furniture changes will not block the lower half of the view.
- □ Use activity zones to exclude televisions, ceiling fans, windows, or busy pet areas when the camera supports them.
- □ Review audio settings carefully, particularly in shared homes or rooms used by guests.
Apartments and rental homes
- □ Prefer removable mounts or door-mounted options when drilling is restricted.
- □ Keep the camera pointed at your own doorway and immediate approach rather than a shared hallway beyond what is necessary.
- □ Confirm building rules before attaching equipment to common areas or exterior walls.
- □ Plan for Wi-Fi coverage and power access without routing cables across walkways.
- □ Photograph the installation and save the original mounting hardware for move-out.
Typical mounting guidance
There is no universal best mounting height. As a starting point, place exterior cameras high enough to reduce easy tampering while retaining a useful facial angle. A camera mounted too high may show the top of a person's head; one mounted too low may be easier to obstruct or damage. Interior cameras can often be lower when the goal is to observe a specific entry or hallway. Test the live image at standing and approaching eye levels before finalizing the position.
Sample coverage maps
For a compact single-story home, a practical starting plan might use one camera facing the front approach, one covering the driveway or side access, and one observing the rear door or yard. For a two-story home, add attention to the stair landing and upper-floor approach rather than pointing cameras into bedrooms. For an apartment, concentrate on the entry, the interior path from the entry, and any permitted private balcony or storage approach.
Street → [Front camera] → Front door → Entry hall → [Interior camera] → Main rooms
                         \
                          [Side camera] → Gate / driveway

Rear yard → [Rear camera] → Back door → Kitchen or utility entry
These are planning patterns, not a prescription for every property. Redraw the cones on your own floor plan and remove any view that is unnecessary or intrusive.
What to double-check
Image quality and lighting
Review each view in bright daylight, low light, and the conditions created by porch lights or vehicle headlights. Confirm that the subject remains visible when moving toward and away from the camera. For night coverage, check whether infrared illumination creates glare from walls, glass, or nearby surfaces. A camera marketed for night vision still needs a clear lens and a useful angle.
Connectivity, power, and recording
Test the signal at the final mounting location rather than beside the router. Battery cameras may record less often or require more charging when placed in a busy area. Wired cameras need a safe, protected cable route and suitable power. Confirm how footage is stored, how long it is retained under your chosen settings, and whether the camera continues useful recording during an internet or power interruption. See the power and internet outage backup guide and the camera storage guide for planning details.
Privacy and account controls
Turn off audio if it is not needed, limit shared users, enable account protections offered by the device, and set retention to a period you can manage responsibly. Use privacy zones where available, but verify them after changing the camera angle or switching to pan/tilt operation. Review the smart home camera privacy checklist before inviting household members or guests to use the system.
Detection settings
Walk through each zone and confirm that alerts identify the activity you care about without producing constant notifications. Test person, vehicle, package, pet, and general motion settings only when those features are available on the device. Detection features can change after firmware updates, so revisit the view and notification rules after updates.
Common mistakes
- Mounting for a wide view instead of useful detail: A broad image is not automatically effective. Prioritize approach paths and identification areas.
- Pointing toward the sun: Direct light and strong backlighting can obscure faces. Shift the angle or use another approach view.
- Installing too high: Height can help with tamper resistance, but excessive height may produce an unhelpful downward view.
- Ignoring seasonal changes: Leaves, snow, decorations, open umbrellas, and parked vehicles can alter coverage.
- Relying on one camera: A single device can be blocked, lose power, or face the wrong direction. Layer important approaches where practical.
- Skipping a live test: Do not judge coverage from a product box, a floor plan, or a phone held at chest height. Walk the actual route and review the recording.
- Forgetting privacy after repositioning: A small angle change can bring a bedroom window, neighbor's property, or shared hallway into view.
When to revisit
Keep the coverage map and checklist with your home maintenance records. Re-run the checklist whenever you move, rearrange furniture, add or replace a camera, change the router, alter lighting, or install a new gate, fence, shed, or outdoor fixture. Review it before seasons that bring different daylight, foliage, weather, or holiday decorations.
Also revisit placement after a firmware update changes person or vehicle detection, privacy zones, recording modes, or pan/tilt behavior. If a camera repeatedly goes offline, test the final signal and power conditions using the camera offline troubleshooting guide. Clean lenses, inspect mounts, and test alerts as part of regular maintenance with the security camera maintenance checklist.
Five-minute re-check: stand at every door, gate, and approach; confirm the live view; inspect blind spots; test day and night images; verify privacy masks; trigger one alert; and record any change on your coverage map. This simple routine keeps a camera installation aligned with how the home is actually used.